Setup Wizard
After importing Better UI into your project, a wizard window should appear guiding you through several pages in order to setup Better UI correctly for your project.
Troubleshooting
If the Setup Wizard does not appear after importing and clicking somewhere to focus Unity, you can manually open it:
Tools -> Better UI -> Settings -> Setup Wizard
You can re-open the wizard at a later time the same way. Once you started the setup wizard it will not appear again automatically. But you can still open it manually.
All decisions you made previously in the wizard will be shown the next time you open it.
If you still cannot see the setup wizard, move your Unity window around. The setup wizard might be behind the main window of Unity.
Wizard Pages
Here is a description of all pages in the wizard.
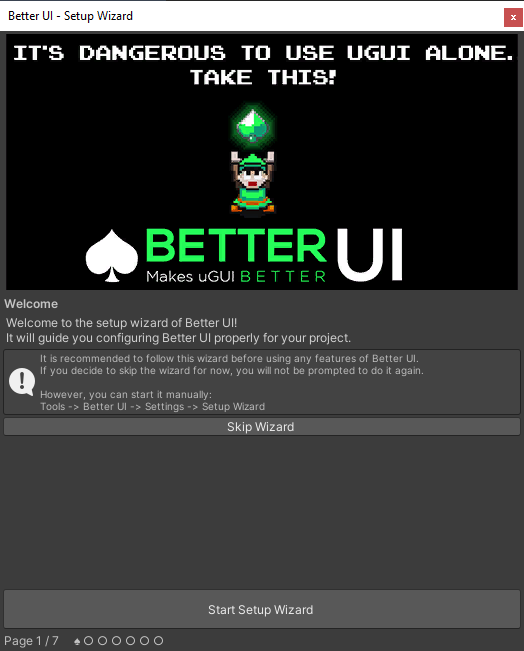
Welcome Screen
The Welcome Screen introduces you to the wizard. You may skip the wizard if you want to do everything manually. This is not recommended!
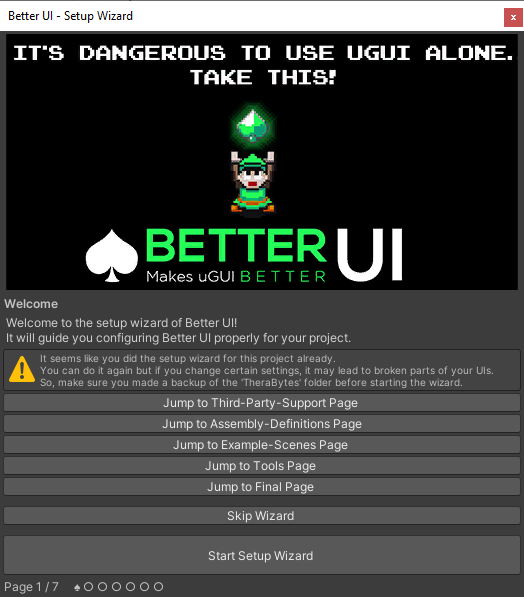
If the wizard detects that you did the wizard before or have a ResolutionMonitor asset already in your project, the welcome page looks differently and allows you to jump to any page you like (since you shouldn't recreate the ResolutionMonitor).
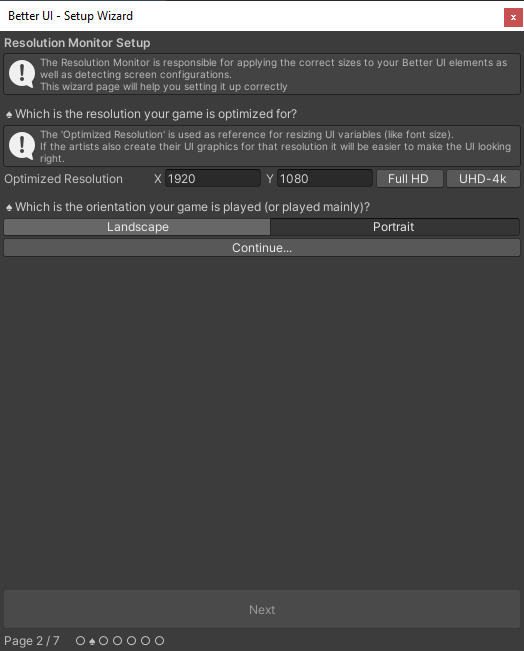
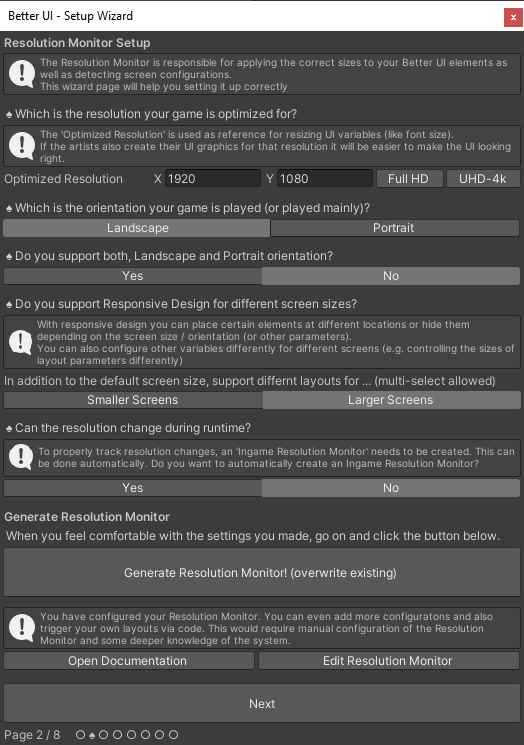
Resolution Monitor
To set up the Resolution Monitor correctly, you are being asked several questions. Please read the question and info-boxes carefully to not make setup mistakes. You are able to change the settings later, but as soon as you have some Better UI components in place, changing the settings might affect the appearance in unexpected ways.
This page allows you to create Landscape and / or Portrait settings in up to 3 screen sizes (small / normal / large).
This is what most people need but there are even more options you can configure. However, supporting other kinds of characteristics can only be achieved by manually setting up the Screen Configurations.
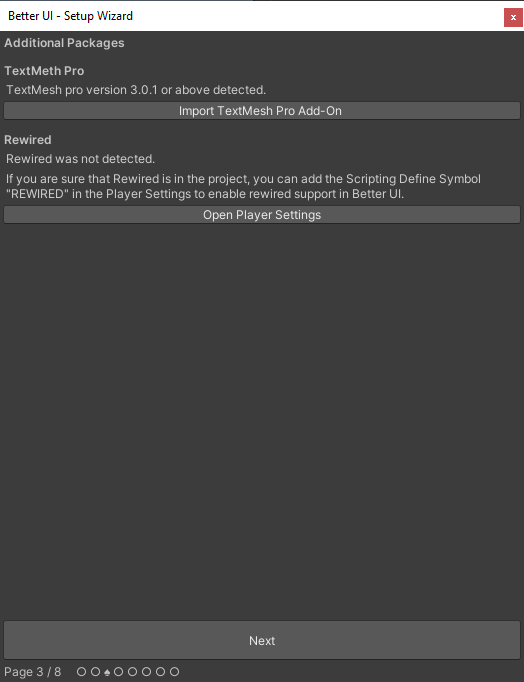
Additional Packages
TextMesh Pro
In this screen you can import the Better UI TextMesh Pro add on. TextMesh Pro is usually installed automatically in your project and you should simply press the import button here to install the add on. Once installed, you have the option to remove it again on this page.
It is recommended to use TextMesh Pro everywhere rather than the Text component of UGUI, so it makes sense to install the add on.
If you are on an older version of Unity (5.x) or don't have TextMesh Pro installed, you will see an option to install one of two packages. If you have TextMesh Pro installed, you should select the package which matches the version of your TextMesh Pro version.
Rewired
Rewired support can be added by simply defining a "REWIRED" symbol. If rewired is detected by the wizard, you can simply add it by the click of a button. It can be used for the Better Navigation System.
Note that you may need to re-add the symbol if you later add additional build targets.
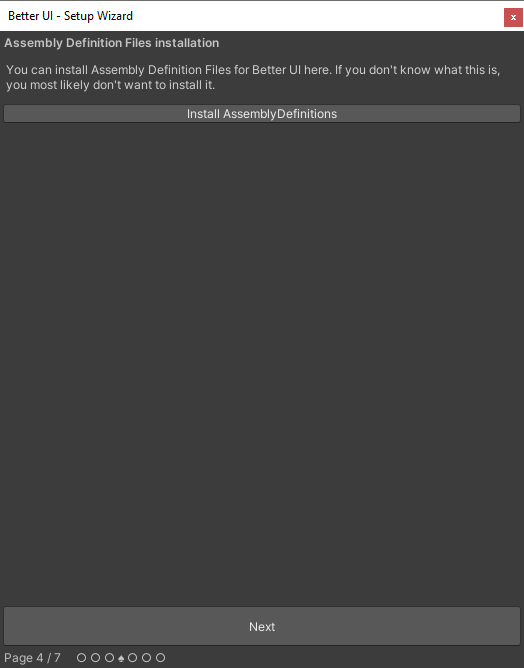
Assembly Definition Files
Assembly Definition files are separating your code in several C#-Projects. If you make use of them in your project, you usually want to use it also for third party projects like Better UI. Assembly definition files are great, because they will increase compile times (they only compile assemblies which have changed.
If you install Assembly Definitions, the assemblies TheraBytes.BetterUi.Runtime and TheraBytes.BetterUi.Editor will appear in your C#-Solution.
This page also allows to remove them again, once installed.
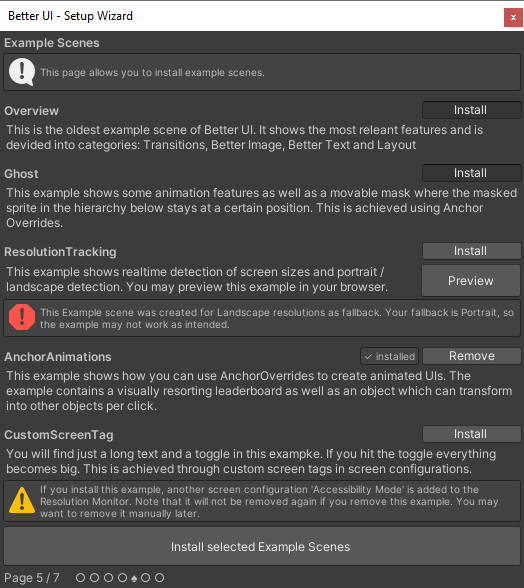
Example Scenes
This Page allows you to install / remove example scenes. You can find all installed example scenes in the folder Assets/TheraBytes/BetterUI_Examples.
To install one or more examples check the "Install" toggle at the right and click the big button on the bottom. You can remove examples in a similar way.
Please note the Error- and Warning-Boxes. Some examples may not look correctly with the configuration of your screen-configuration or even modify your resolution monitor (by adding another screen configuration).
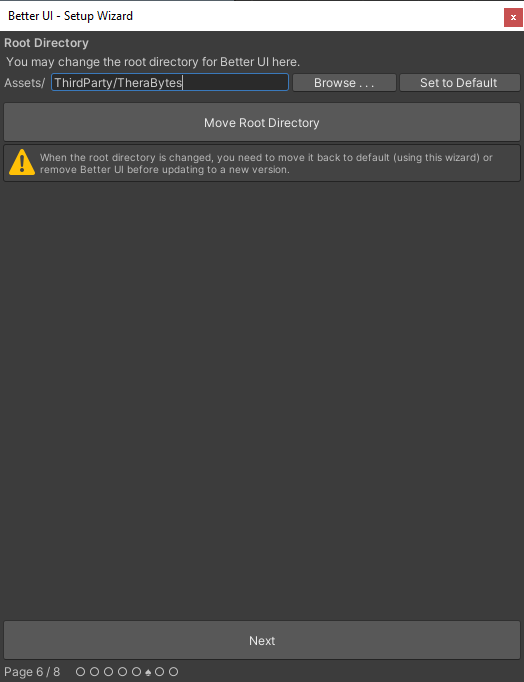
Move Root Directory
This page allows you to move the folders BetterUI, BetterUI_TextMeshPro, BetterUI_Examples and Resources to another folder. So, it is advisable to have a dedicated parent folder for them.
To move the root folder, enter the desired path relative to the Asset folder (or use the "Browse . . . " button) and click "Move Root Directory". This will move all files and writes the new root path into a script file.
Note: When Updating Better UI, the update-package is not aware of the new path. So you should move it back to the default path before updating (use the "Set to Default" button) and move it back to the desired folder after updating using the wizard.
Troubleshooting:
- If you still have parts of the old sub-folders after move, or the folders did not move except for the Resources folder, something went wrong. -> Search for the cs file "RootDirectory.Generated" and set the "OverrideRoot" to the path where the BetterUI folder is located now (excluding the Assets folder)
- If you add a screen configuration setting in a better UI component which is displayed as "!! not found !!", your resolution monitor instance points to the instance before the move. -> Recompile by changing some spacing-characters in a script or restart unity.
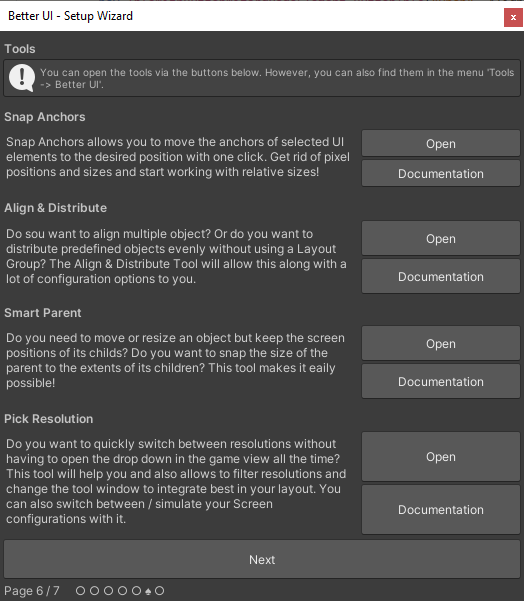
Tools
This page is an overview of the tool windows coming along with Better UI. It shortly describes what you can do with it and allows you to open the tool or view the online documentation.
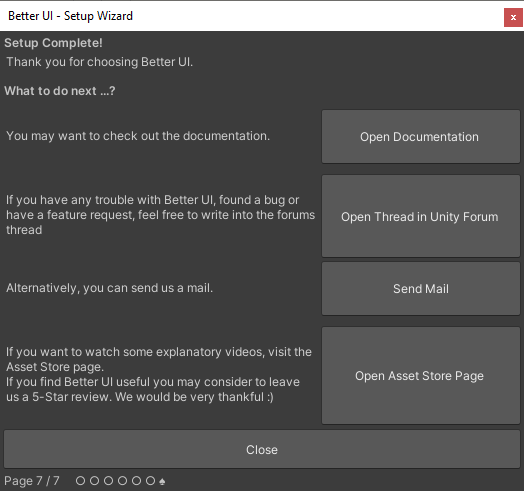
Final Page
The final page just contains some links in case you need some further direction with Better UI.
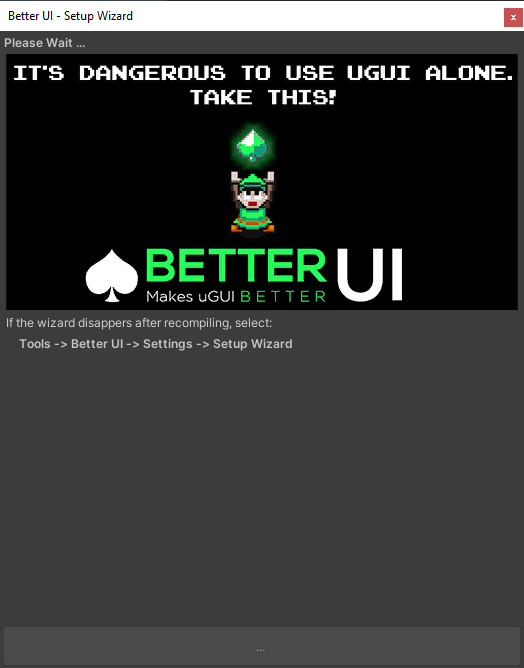
Compiling Page
This page appears every time when you install a package or remove something.
After recompiling / refreshing the assets in your project, this page should disappear and the page where you have been before should appear again.
In rare cases this doesn't work.
If the window just disappear, try reopening it (see Troubleshooting section at the top of this page).
If the Compiling Page doesn't refresh more than 3 seconds after compilation, close it and reopen the wizard again.